Setup, Installation & Maintenance
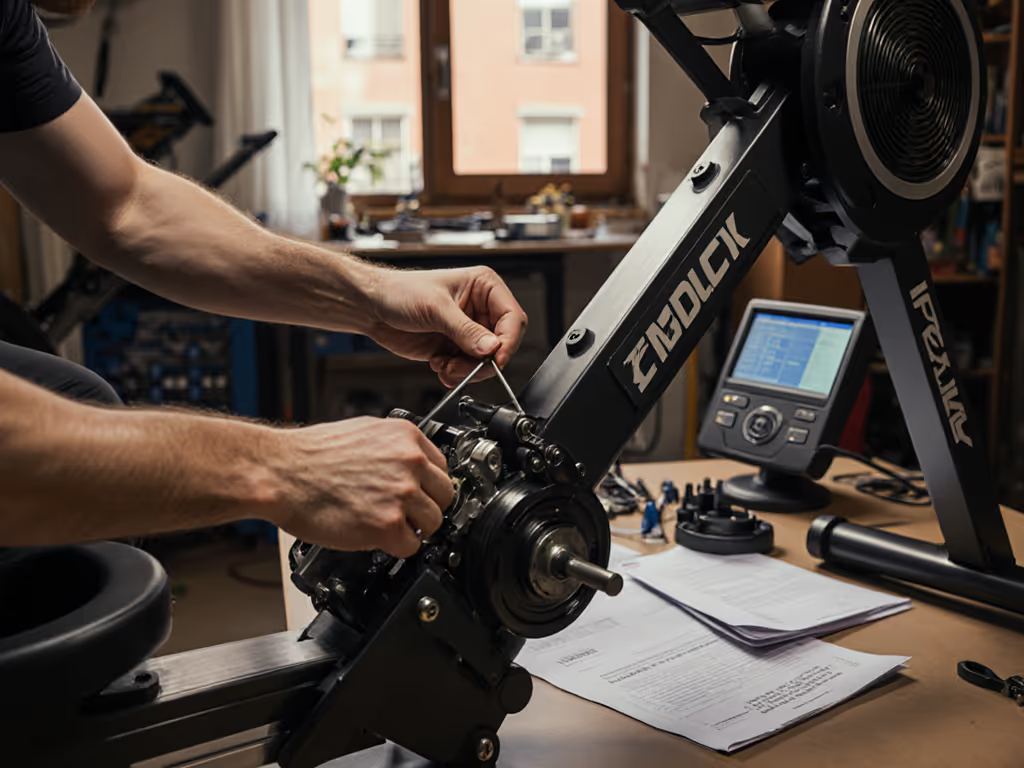
Rower Firmware Updates Fix Bluetooth Disconnections
26th Jan•6 min read
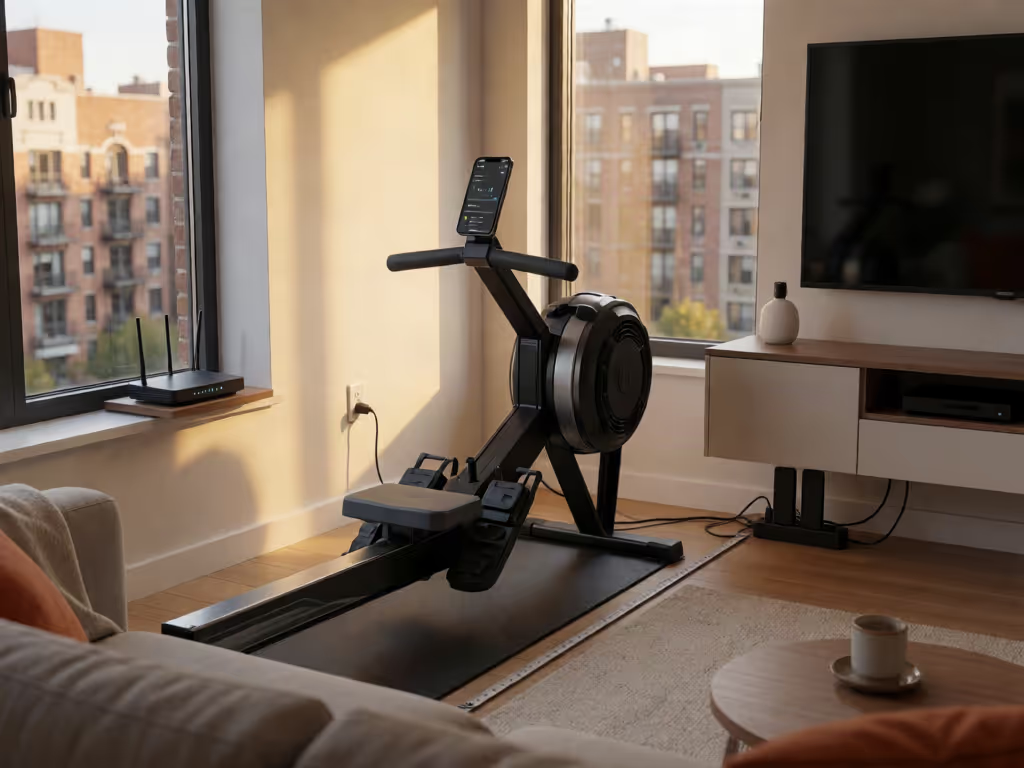
A rowing machine’s power and connectivity needs depend on the exact model and feature set—not simply on whether it uses air, magnetic, or water resistance. Check the current manual before planning an outlet, Wi-Fi setup, or storage location.
Important: Examples such as the ProForm 750R, Hydrow, and WaterRower illustrate particular setups only; they do not establish universal requirements for all rowing machines.
Rowing machine power requirements are more model-specific than most listings make clear. If you are asking, does a rowing machine need electricity, check the exact rower’s resistance description and the documented requirements for its console, touchscreen, app connection, and heart-rate features before you plan an outlet or buy a tablet. That model-by-model review prevents the most common small-space setup failure: getting the machine home, then discovering requirements you did not plan for.
Check the manual, connection path, and export options before committing a corner of the living room to any connected machine.
Start with the exact model's manual, not the resistance category and not a retailer's comparison chart; our home rower space and setup guide can help with the broader placement questions. The available documentation does not support a universal rule that air, magnetic, or water rowers do or do not need wall power.
Instead, make a four-line inventory:
| Component | Question to answer from the exact manual | Why it matters |
|---|---|---|
| Rower/console | Does the manufacturer specify an AC adapter or wall outlet? | Determines whether the rower has a fixed outlet dependency. |
| Display | Is it a simple performance monitor or an integrated touchscreen? | Changes the setup path and likely update process. |
| Heart-rate connection | Which heart-rate standard is named? | A heart-rate pairing claim is not automatically phone/tablet compatibility. |
| Training app | Is the app connected to the console, the tablet, or both? | Defines where accounts, Wi-Fi, and workout records live. |
A concrete example: the ProForm 750R manual instructs the owner to plug its power adapter into the front of the rower and then into an outlet. That is a model-specific wall-power requirement, not evidence that every home rower needs mains power.
A console's Watts screen can be a workout metric rather than a household energy figure. On the ProForm 750R, the manual defines watts as approximate rowing power output. It does not state the machine's electrical draw.
A higher number on a rowing "Watts" display does not tell you how much electricity the rower consumes.
For an actual outlet-load or energy-use estimate, use only the exact model's electrical documentation. The available information here does not establish wattage, voltage, battery chemistry, charging ports, or charging intervals across rowing machines.
"Battery-powered," "self-powered," and "charging" are terms that are easy to overgeneralize. In this case, do not assume:
Those rowing machine battery requirements must come from the manual for the exact console revision. If the listing and manual disagree, pause the purchase and ask the seller or manufacturer for the current manual and the specified replacement adapter or battery information.
This is a small administrative step with a large payoff in an apartment: you can decide whether the rower belongs near an outlet before you move furniture, route a cord, or rely on a power arrangement that the manufacturer does not specify.
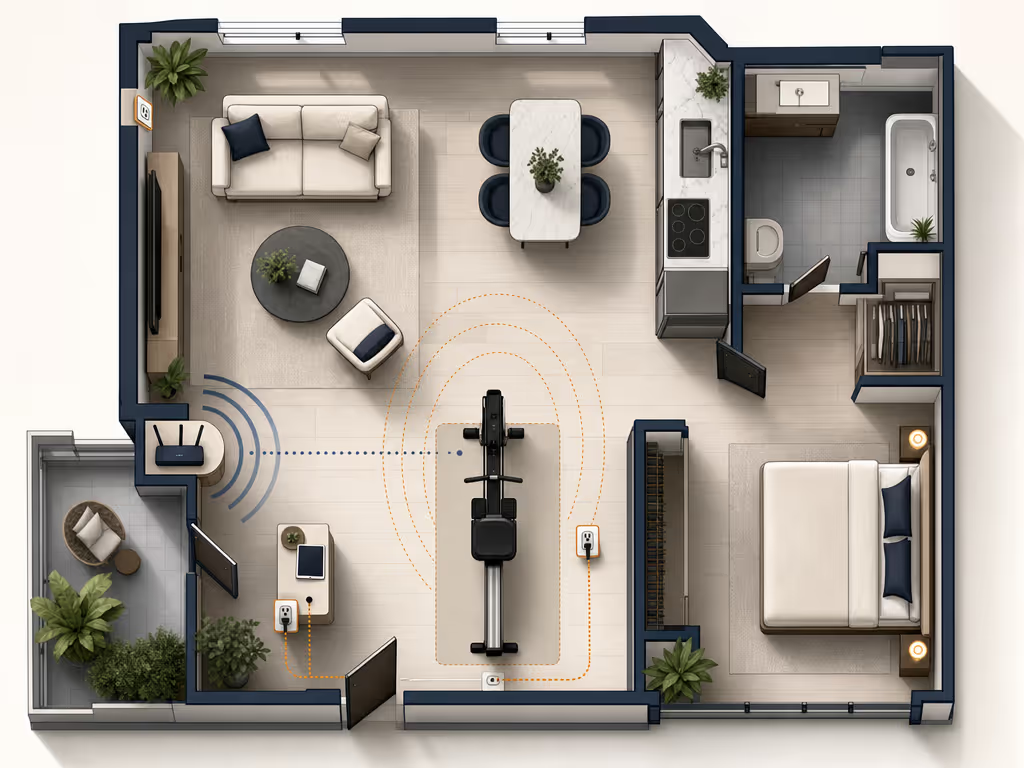
Rowing machine Wi-Fi requirements are not universal either. The precise setup sequence is product and software-version dependent.
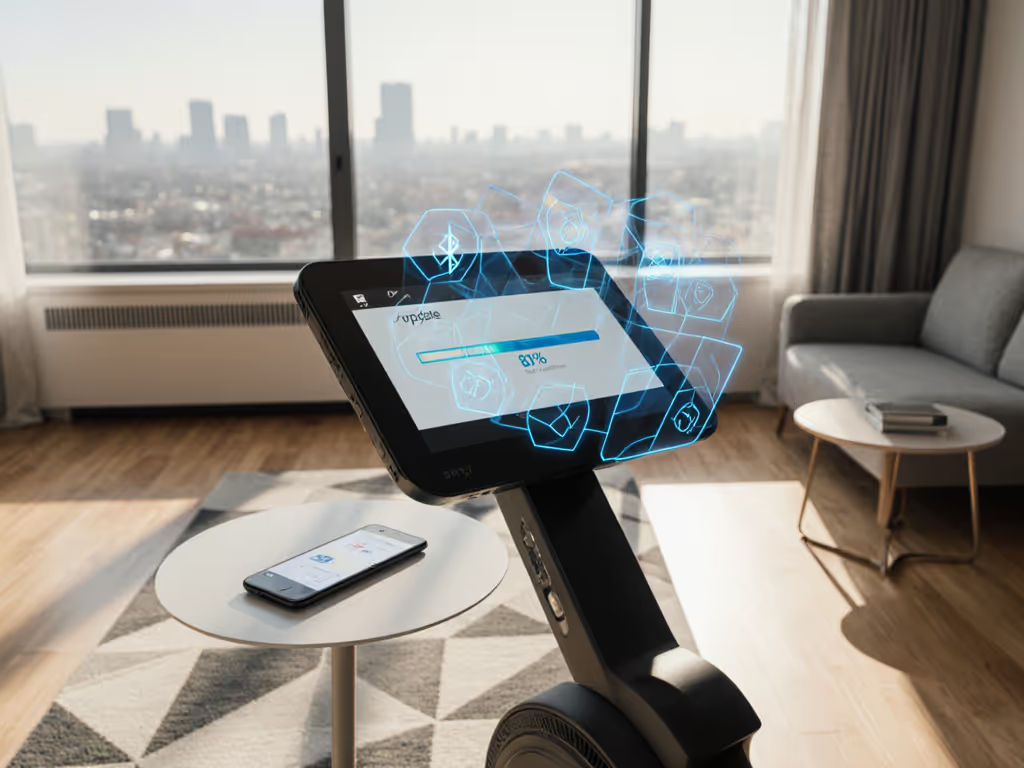
In an independently observed setup of a Hydrow connected rower, the rower was plugged into mains power and its touchscreen guided the reviewer through Wi-Fi connection, updates, and profile creation. That is useful planning evidence for that connected setup, not a rule for every touchscreen rower.
Use this pre-purchase network audit:
Open where it counts, bridged where a device demands it: favor a setup with open rowing connectivity whose workout data and heart-rate path you can inspect, rather than assuming every icon on a product page represents a durable integration.
If you are comparing accessories, a guide to essential rower add-ons can help you review the options. The documented procedure below applies specifically to WaterRower's dedicated Tablet/Phone Arm accessory.
For that accessory, the instructions specify this sequence:
WaterRower also instructs owners of that accessory to check its JCN fasteners every two weeks and tighten them if needed to help prevent mount sag. Add that manufacturer-specified check to your household maintenance calendar.
Power and connectivity are only useful after the rower has a stable, serviceable home. Follow the exact model's placement instructions. The ProForm 750R manual, for example, specifies an indoor, level location away from moisture and dust, with a mat beneath the rower and at least 2 feet (0.6 m) of clearance around it.
Use that as a reminder to look for four items in your manual:
Assembly time and difficulty are also model-specific. WaterRower's Original Rower with Bluetooth Wireless Technology estimates assembly at roughly 30-45 minutes and says the needed tools are included. Leave room for a careful first pass through the instructions rather than treating that estimate as a category-wide promise.
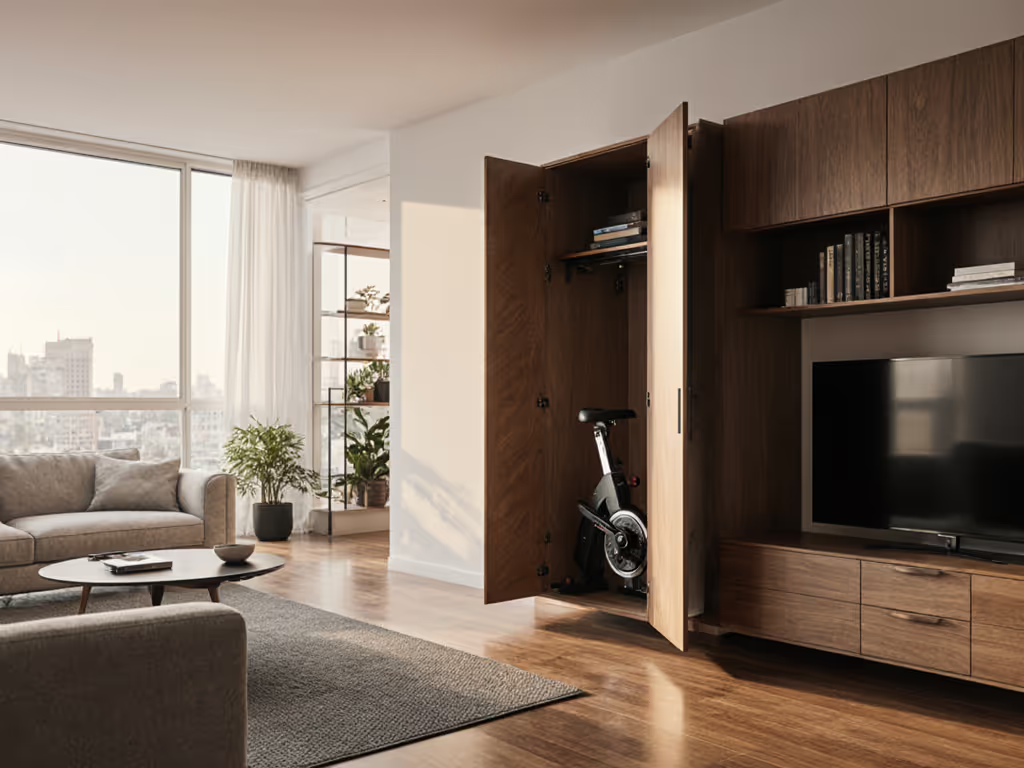
If storage drives the decision, verify it separately. A reviewer reported that the Hydrow configuration tested was not foldable and required a separately purchased kit for upright storage. That observation should not be extended to other rowers or future configurations.
Before your first real workout, test the entire chain while the rower is in its final position:
This short test catches the problems that matter in a compact home: a cable that cannot reach cleanly, Wi-Fi that drops where the rower lives, or a screen workflow that adds friction to a 20-minute session.
The useful answer to "does a rowing machine need electricity?" is: check the exact rower and the exact feature you plan to use. A powered-console model can require an outlet; the reviewed Hydrow setup included touchscreen-guided Wi-Fi, updates, and profile creation; WaterRower's dedicated Tablet/Phone Arm has its own device-positioning and storage sequence. None of those facts can be safely inferred from resistance type alone.
For further exploration, download the current manual for the precise model and console version you are considering. Build a one-page setup map covering outlet location, network reach, heart-rate standard, app path, clearance, and storage sequence. If you are considering WaterRower's dedicated Tablet/Phone Arm, add its device-removal and two-week fastener-check instructions. That small audit keeps the hardware workable, and your training routine portable, long after the first exciting week of ownership.